Web chat

To embed our web chat widget, you must set up the web chat widget configuration and obtain the widget code snippet.
To do this:
- Log in to the portal.
- Go to Channels > Configure.
Design your widget

Colours
On the Web Chat section, select Colours.

Here, you can configure the look and feel of the web chat widget. Any changes you make are automatically deployed on your website without the need to change code when you select Save.
Choose a theme
On the Web Chat section, select Theme.
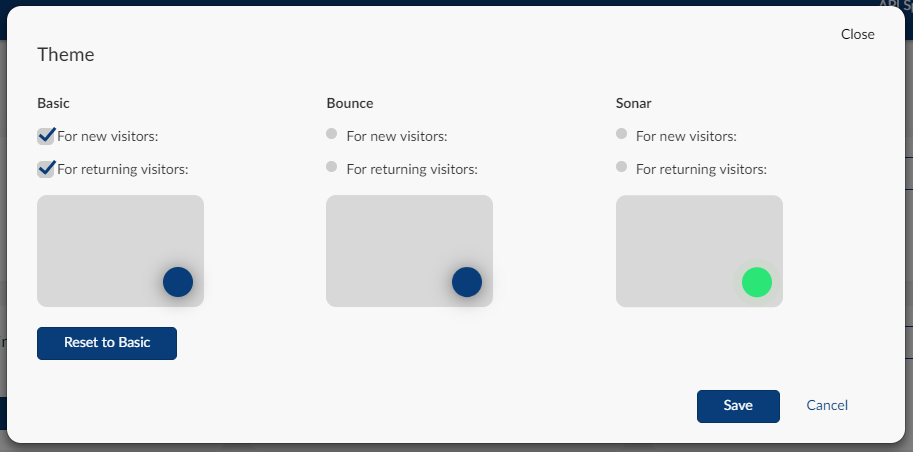
You can choose whether your chat widget is animated for new visitors, returning visitors. or both.
The animation can help your users noticed that they can chat with you without the need to use a welcome message.
A common configuration is to have an animation for new users but not returning users.
Choose your theme preferences and select Save.
Choose an authentication mode
On the Web Chat section, select Code.

The code required to embed the web chat widget in your website is shown on the left.
Select the Auth Callback switch to change from anonymous mode to auth callback mode.
- Anonymous mode
As a default, anonymous mode is set. In this mode, any visitor to the website is automatically allocated a unique anonymous profile ID, for exampleanon_9511b13d-eff5-4f7c-952b-a9a78f655b35.
This profile ID stays the same on subsequent visits for the same user, and your chat agents can add details about the user as they chat to them and discover details.This is the default and simplest option to use.
- Auth callback mode
This mode allows you to integrate the Web chat widget to your existing authentication system, so the profiles created in the system use the correct user ID for the logged in user.\
If you switch on Auth Callback then the code snippet changes to include an authorisation callback. The authorisation callback code must return a JWT (JSON Web Token) for the logged in user, ensuring it has the claim containing your logged in user’s ID. By default, the user ID is taken from the sub claim, but this can be changed in the App Messaging setup page if you need to.\
It’s completely up to you how you create or obtain a JWT for your logged in user. More information on how to create a JWT can be found at jwt.io.
Stay secureWhen implementing the auth callback you must ensure that you perform any sensitive security logic on the server side to protect the security of your website.
Embed the widget
Once you’ve set up the widget and chosen what authentication mode to use, you need to copy the widget code from the setup screen using the Copy button and then paste it into your website inside the body tag.
If you chose to use auth callbacks, you must also implement your auth callback code to provide a JWT for the logged in user.
Watch the video
Advanced optionsIf you have more complex requirements, such as managing data storage or logging out the widget, see the advanced options and further technical details here.
Assign a contact team to web chat
For the web chat widget to appear, you must ensure that the web chat channel is assigned to at least one team.

To do this:
-
Go to Contact > Chat > Teams.
-
For Web Chat, select Setup.\
-
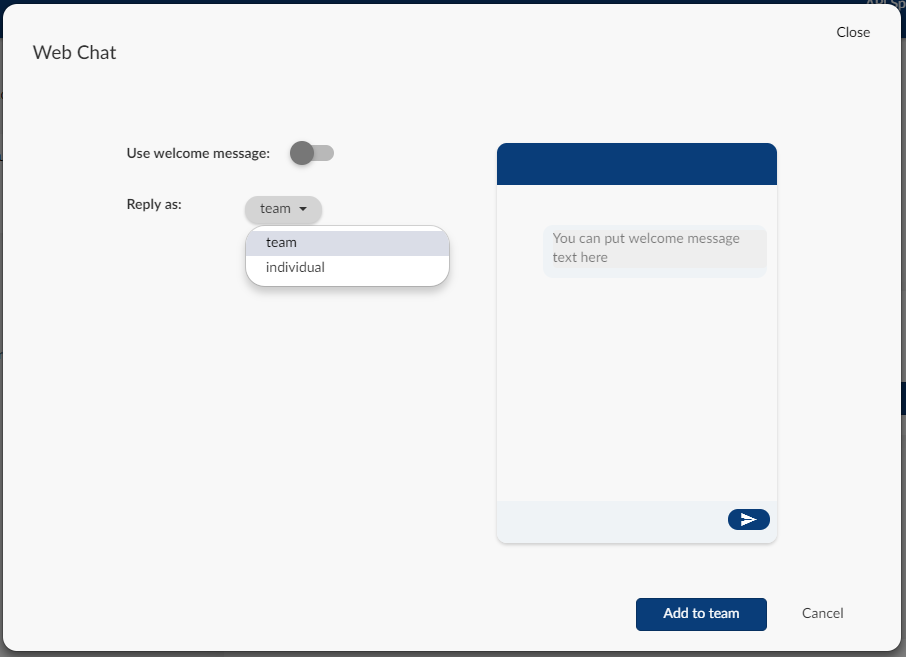
Optionally, enable Use welcome message to automatically send a message you specify to a newly opened chat. Set your message in the message box on the right, and set your timing options.
-
Expand the Reply as drop-down menu and select team or individual.
Team
All conversations appear to be the team, for example, Customer Services, instead of the individual customer service agents.Individual
All chat responses are sent from the individual agents handling the enquiry. -
Select Add to team.
You’re now ready to start handling your customers inquiries using web chat.