How to setup the email channel so you can use it to message your customers
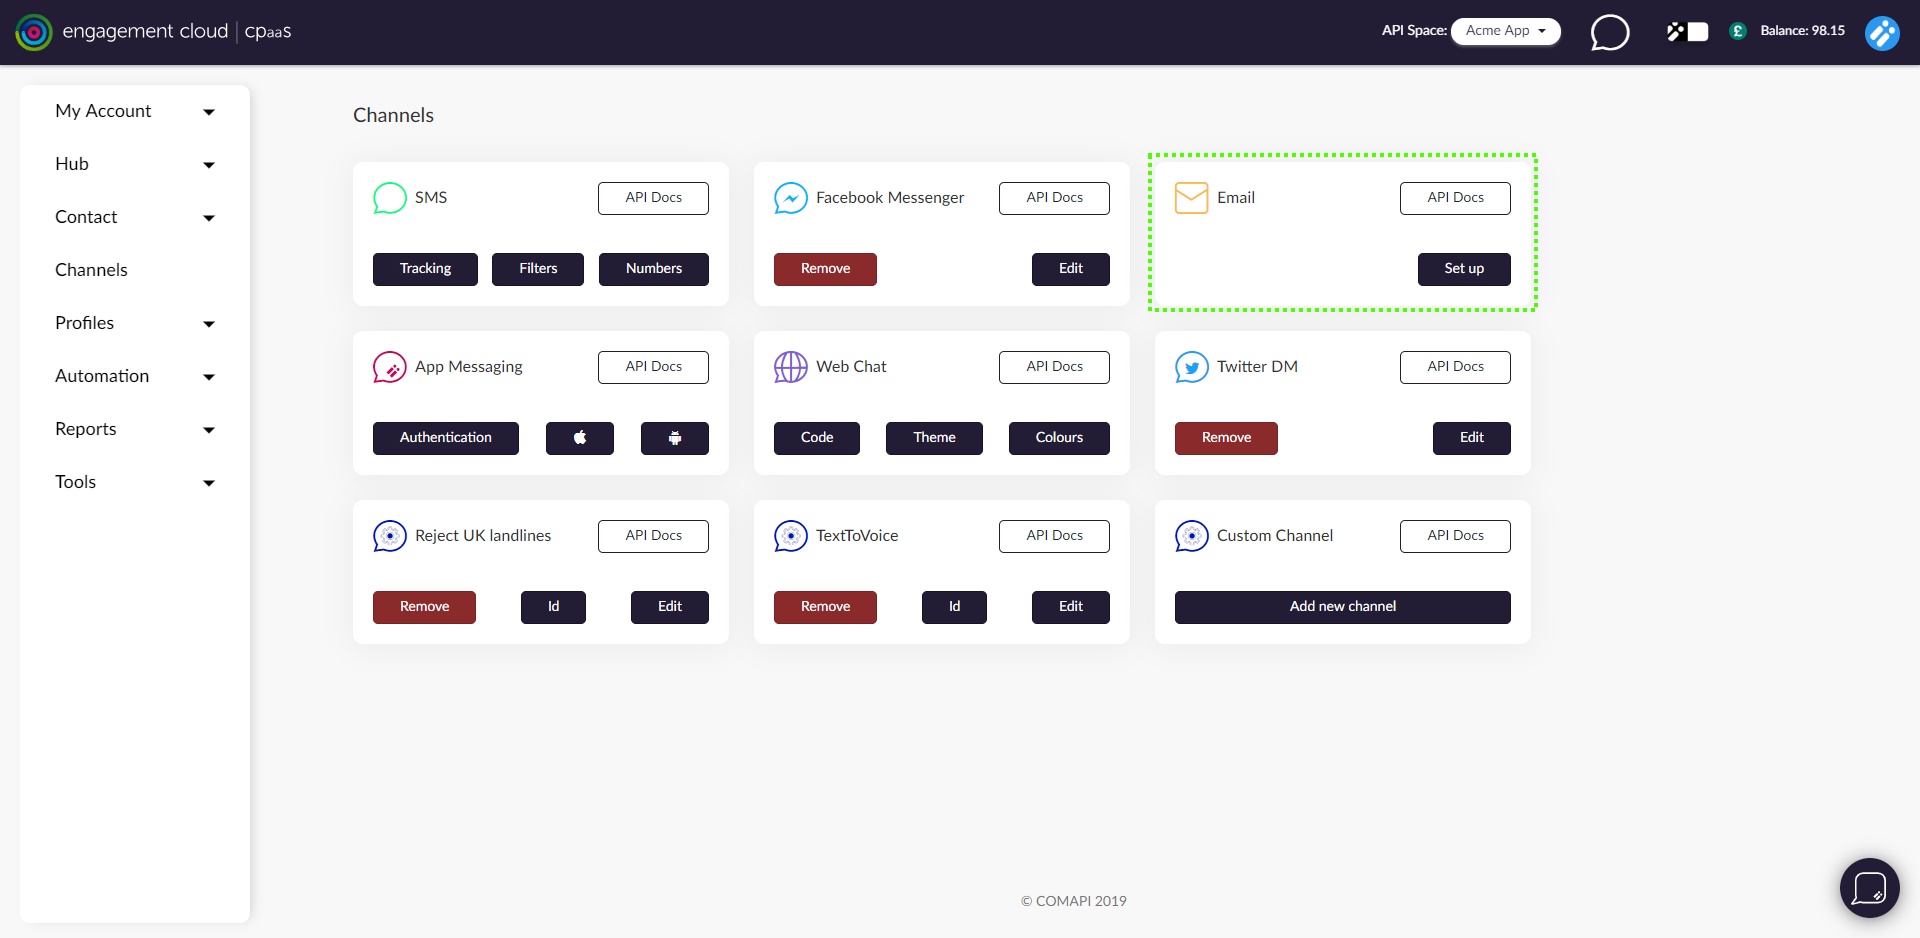
In order to send emails via Comapi's "One" API or tools you will need to setup the email channel. To do this go to the Comapi Portal and open the Channels page and click on the Setup button in the Email section shown below (Highlighted in green)
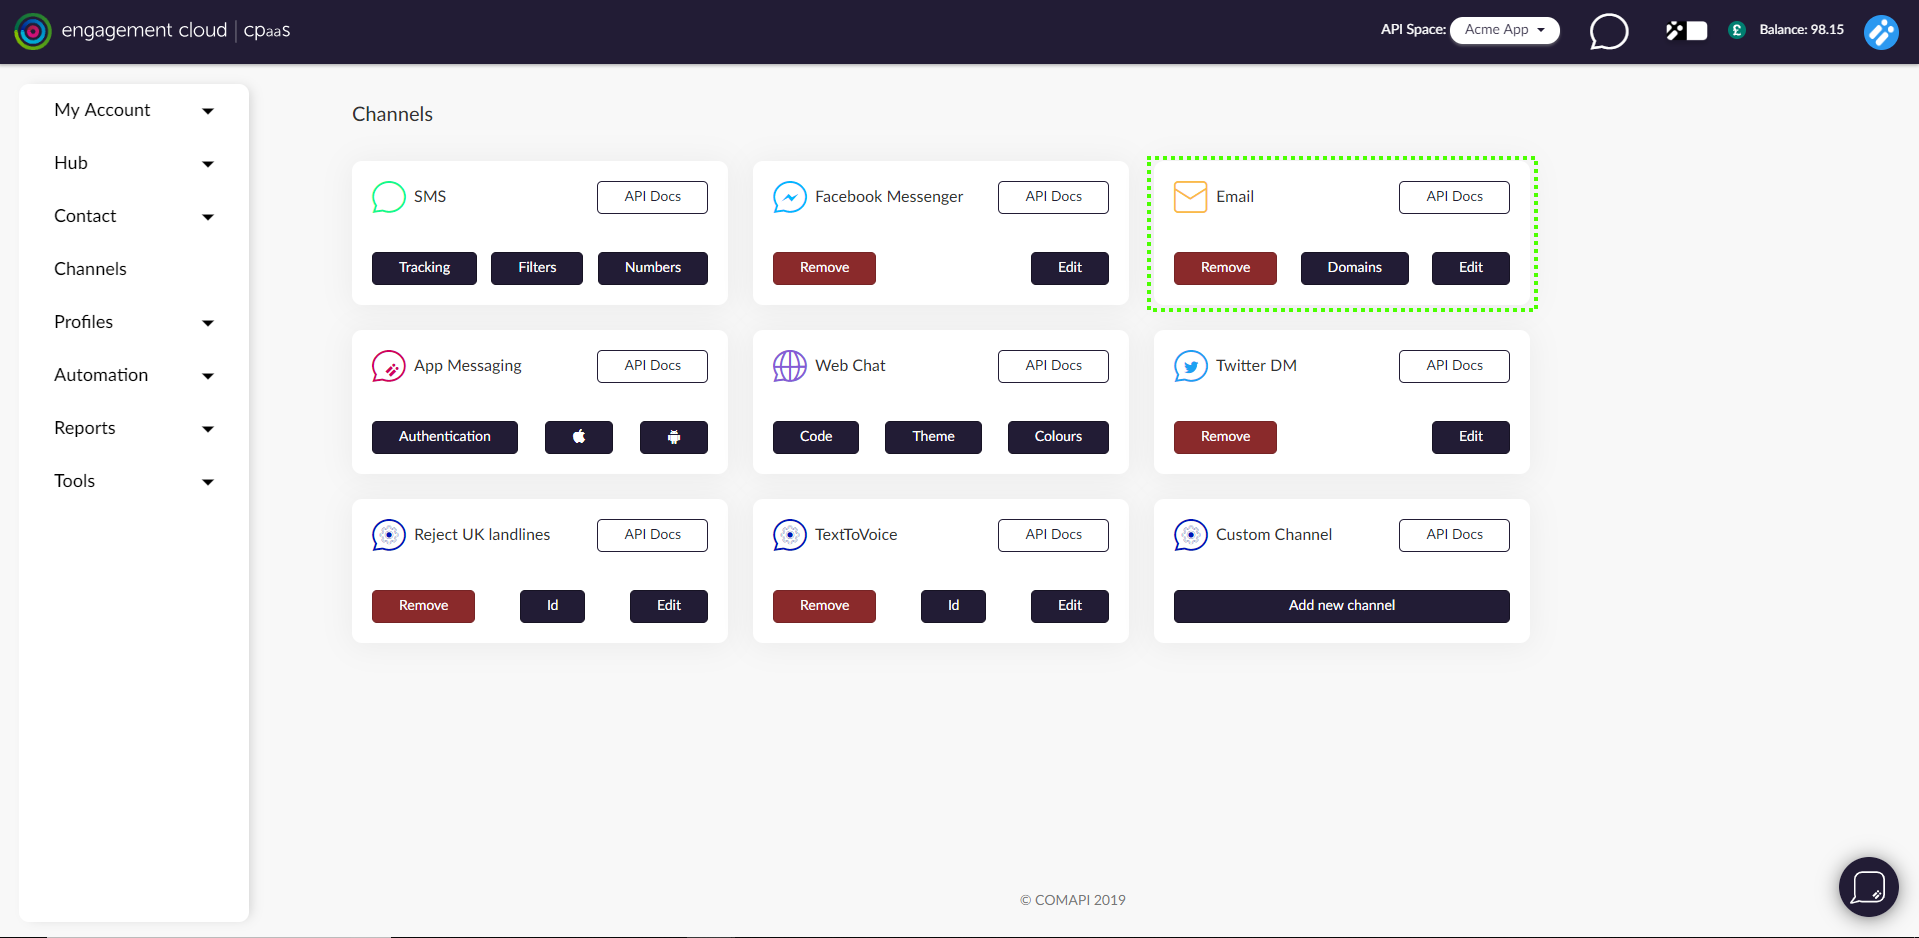
If the email channel has already been enabled then click Edit to change your settings or Remove to disable the email channels, but this will also delete your settings!

Email channel not enabled

Email channel settings after it has been enabled
Email channel configuration
Default From Name
This is the name that email clients will show the email was sent from e.g. your company name or department.
Note: This is not the email address the email is sent from, as that is determined automatically.
See below for an example rendered in Outlook, the Email From name was set to Acme Support:
Email From Name in Outlook
Default Mailbox
A mailbox is a virtual grouping that can be useful to use to segment email by department or purpose, for instance we use in our chat tool to segment different teams emails. It is included as a prefix in the actual email address used to send messages which can be helpful for helping customers identify who sent the message.
Type a Default Mailbox name into the text box. The mailbox name must be lowercase and only contain letters and numbers.
Default Inbound Address
This is read only and is the email address you can use to send inbound messages into us; note how the default mailbox forms the start of the email address.
An example inbound address if you had a default mailbox of general would be:
general|[email protected]
Setup CompleteYou can now use the email channel with the "One" API or our tools.
Using Your Own Domains
By default we will send your email using our own email domain using the From Name you specified to make it feel like it has come from you, but you may want to actually send and receive email using your own domains.
In order to use your own custom domains you must contact us to have them setup. This process will involve making changes to your domains DNS records, and verification of these changes prior to being able to use the domain.
Dedicated IPs
If you would like us to provide dedicated IP addresses for your email domains to ensure that they own their own email reputation then one or more can be provided for each domain. We recommend that you use our domain auto warm-up feature when introducing dedicated IPs to ensure the IP addresses build up their reputation gradually for maximum reputation. Please contact us to discuss dedicated IPs in more detail if you are interested.
Once the domains have been setup you can view them and the associated IP addresses they use for email by clicking the Domains button on the email channel.
Updated 2 months ago
